Pringles Can Speaker
Pringles occasionally run a promotion where you get a speaker for the can. But why bother with all that, when you can make your own speaker from the Pringles can.
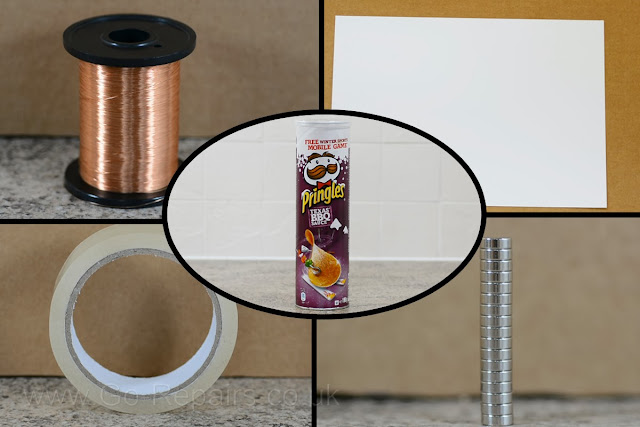
List of materials:
- Some enamelled wire
- Some sticky tape
- A piece of A4 paper
- A stack of magnets
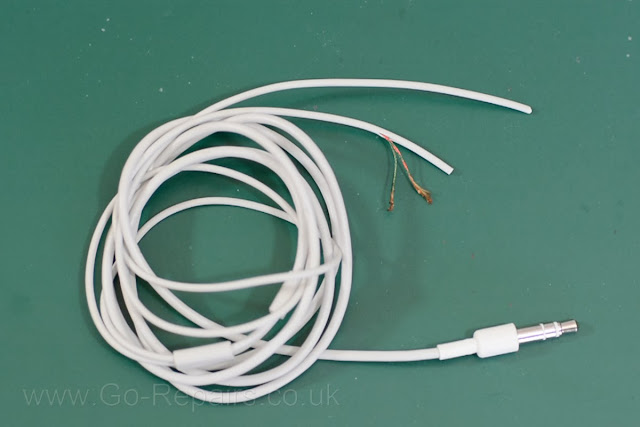
- Some old headphones (for testing the Pringles can speaker)
- An empty can of Pringles
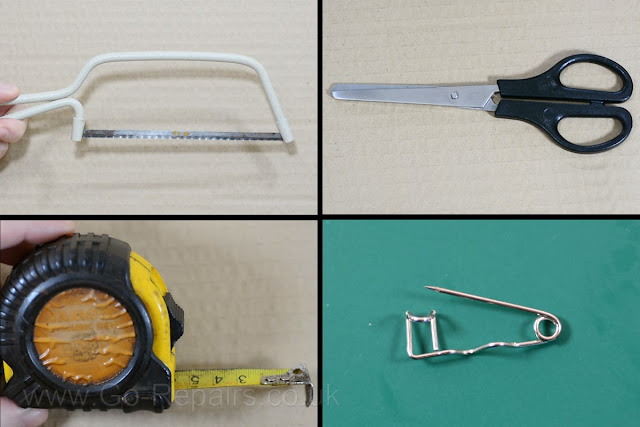
Tools Needed:
- Junior hacksaw
- Safety pin
- A pair of scissors
- A measuring tape
Making The Tube
Firstly cut a strip of paper about 3cm in height, from that strip cut a small piece long enough to wrap around a stack of magnets the same height. Ensure the paper is snugly wrapped and then tape into position. Repeat the process, putting another piece of paper around the first one and again securing with some sticky tape. These paper tubes should slide over each other freely.
Making The Coil
Take your enamelled wire and tape it to the outer paper, now carefully coil the wire around. Coil it until it's about a third of the way down, remember to keep the wire close together as you wrap it around. When you've gone far enough use another piece of sticky tape to secure into position. Give yourself plenty of wire for both connections of the coil, you can always trim these later if they are too long.
Once your copper coil is secured you can remove the inner paper tube and stack of magnets.
Prepare The Pringles Can
Now measure up about an 2.5cm from the metal base of the Pringles can and cut it to length with your junior hacksaw. To help you cut straight you can wrap the a4 paper around the can, giving you a straight line to follow.
When the Pringles can is cut, don't forget to give the inside a quick clean and make a small hole for the wires using your safety pin.
Finishing the Pringles Can Speaker
Locate the centre of the Pringles can lid by finding the bump on the top. Now secure your coil to the lid using sticky tape. Remember to adjust your stack of magnets so that the top of the magnets will be level with the centre of the coil.
Place your stack of magnets into the coil while it's turned upside down. Now thread your wires through the hole you made in the Pringles can. Place your can upside down over the lid, making sure it's central, as it gets closer you'll hear the magnets click into place. Make sure to pull through any excess wire.
Now your Pringles can speaker is done, you just need to test it. I connected mine to some old headphones. If you want to hear the audio quality of this speaker then check out our video.
To see the full article visit our main site.


No comments:
Post a Comment