Home Electrolysis Kit
Electrolysis is a useful skill to pick up and the beauty of it is that it's super easy to do. Electrolysis can be used to plate materials, to clean, for etching and even to produce pure forms of a material.
In this article we'll show you how to make your own small electrolysis kit. With what you'll learn you'll be able to scale up the kit if you wanted to.
List of Materials:
- Crocodile clips
- A battery
- Some pencils*
- A non-conductive container
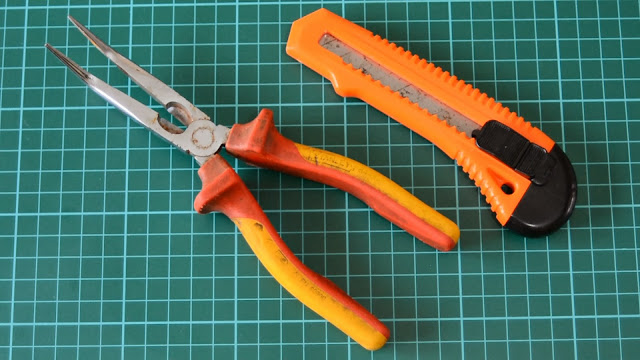
- A knife
- A pair of snipe nose pliers
- A piece of card (big enough to go over the top of the container
Prepare Your Pencils
Firstly prepare your pencils by removing the rubber and the metal holder on top. Using your knife, scrap off the wood to expose the carbon graphite underneath.
Mount Pencils Through Cardboard
Cut a piece of card just big enough to cover
your container. Now pierce the card to allow the pencils through it.
This should be a snug fit and ensure the probes are not too close to
each other so they won't touch.
You've Made an Electrolysis Kit
Place the cardboard with the pencils attached onto the glass, ensuring that they would dip into the solution. Now attach your crocodile clips to the pencils and battery, being careful not to break the graphite.
Your now good to go.
Don't forget this was a simple introduction into electrolysis, but once you've learnt the basics you can adapt what you've learnt and scale up the kit.
See the full article on our main site.


No comments:
Post a Comment